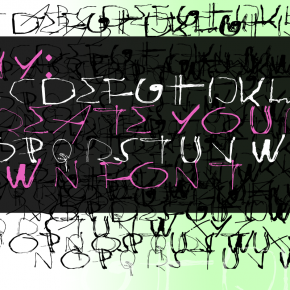
If you ever wanted to create your own font, then this article is just the right thing.
First of all, let’s diverse the type of how creating a font. I will describe two different ways.
- Create a font of your own hand-writing
- Create a font using computer generated letters
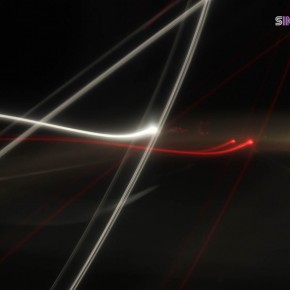
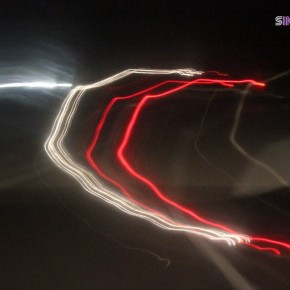
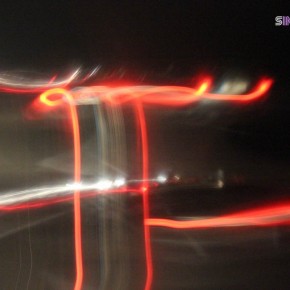
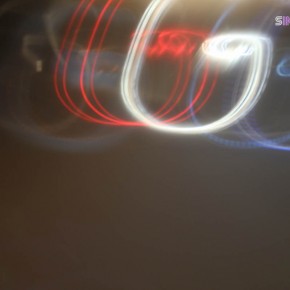
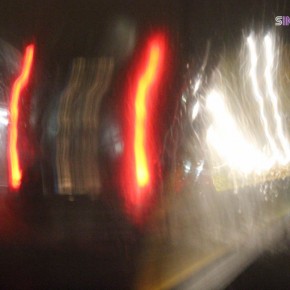
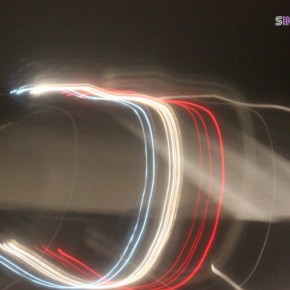
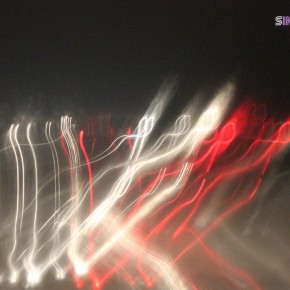
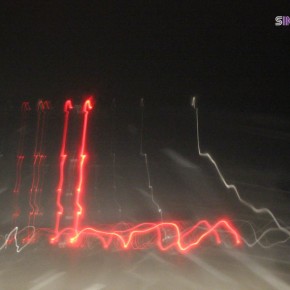
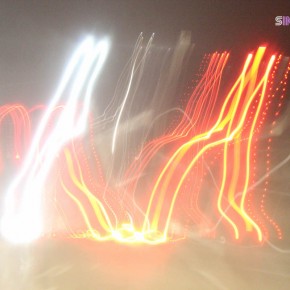
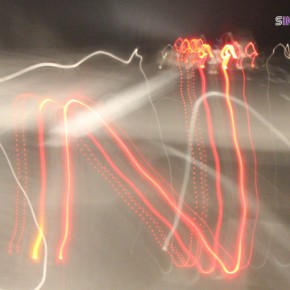
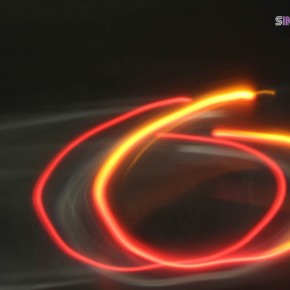
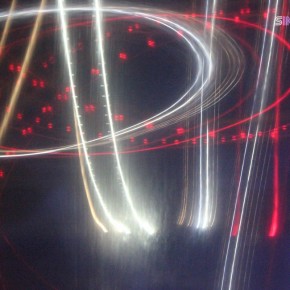
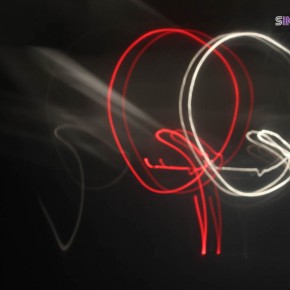
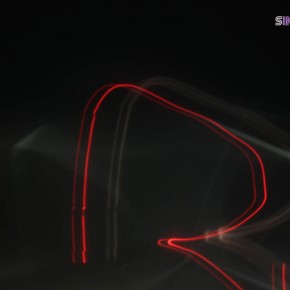
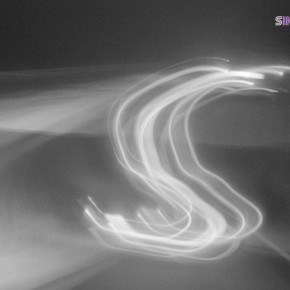
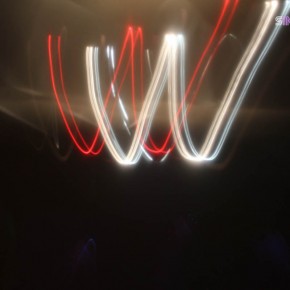
The idea I had, is to create a font out of another article of my blog, where I shot time exposure images of the ABC and I wanted to use them as a pattern for the font.
After some researches on Google and Youtube how to create a font I found this video about a guy, that is introducing a homepage, where it is possible to create one out of your handwriting.
1. Create a font using your own handwriting
As I mentioned above I found this video. He refers to a homepage called yourfonts.com.
To create your own font you have to follow these simple steps
- Print a document where you can put your handwriting letters
- Put your letters in
- Scan your document
- Upload it back to yourfonts.com
- Download the generated .ttf-File
(And DOOOH! At step 5 I found out that it costs 9,95 USD to convert the scanned document into a font. That sucks. At the time the video was produced [2 years ago] it seemed to be free.)
And that’s it. No rocket science here. Just some basic steps and you can write for example word documents with your own created font. (But 10 Bucks, what???)
But that wasn’t really the thing I wanted to do. As I mentioned I wanted to convert time exposure images to a font.
2. Create a font using computer generated letters (or even time exposure shots)
For this method you will need more than just a simple homepage that is doing all the stuff for you. In my case, I had to do some additional work.
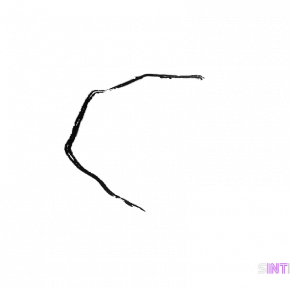
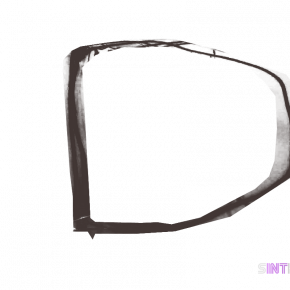
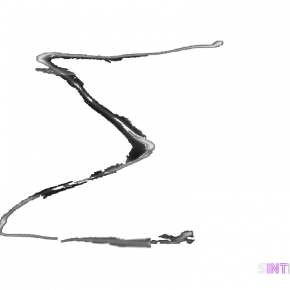
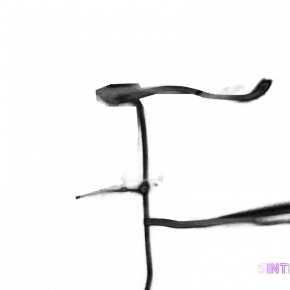
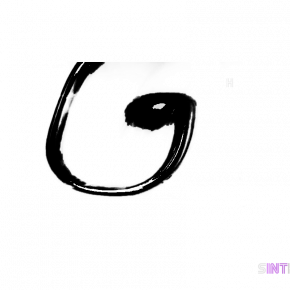
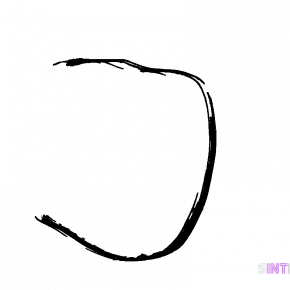
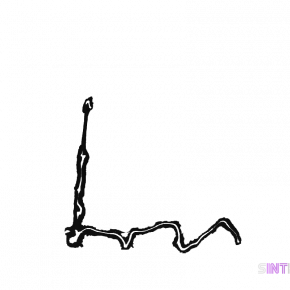
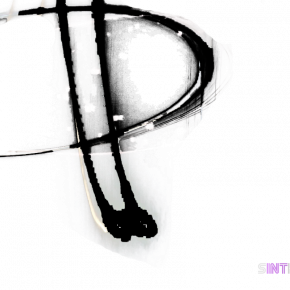
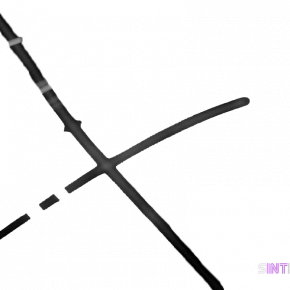
First of all I had to find a software, that can import images and that is generating the font out of that. After research I have found two good applications: Font Creator by High Logic and Font Scan by FontLab. Both ot them are able to convert image files to a font. Now I will have to adjust the time exposures images and remove unuseful “informations”. I have done this with the help of Photoshop. I took an image and extracted just the letter, colored it completely to black and set the background to white. The images are now prepared to be imported into the software and later on, converted to a font.
I created my font using Font Creator by High Logic. It costs 79 US$ and it is worth every penny.
To download my font  click here.

